
Free Crochet Pattern – Nina the Bee (Quick and Cute Amigurumi)
20/05/2021
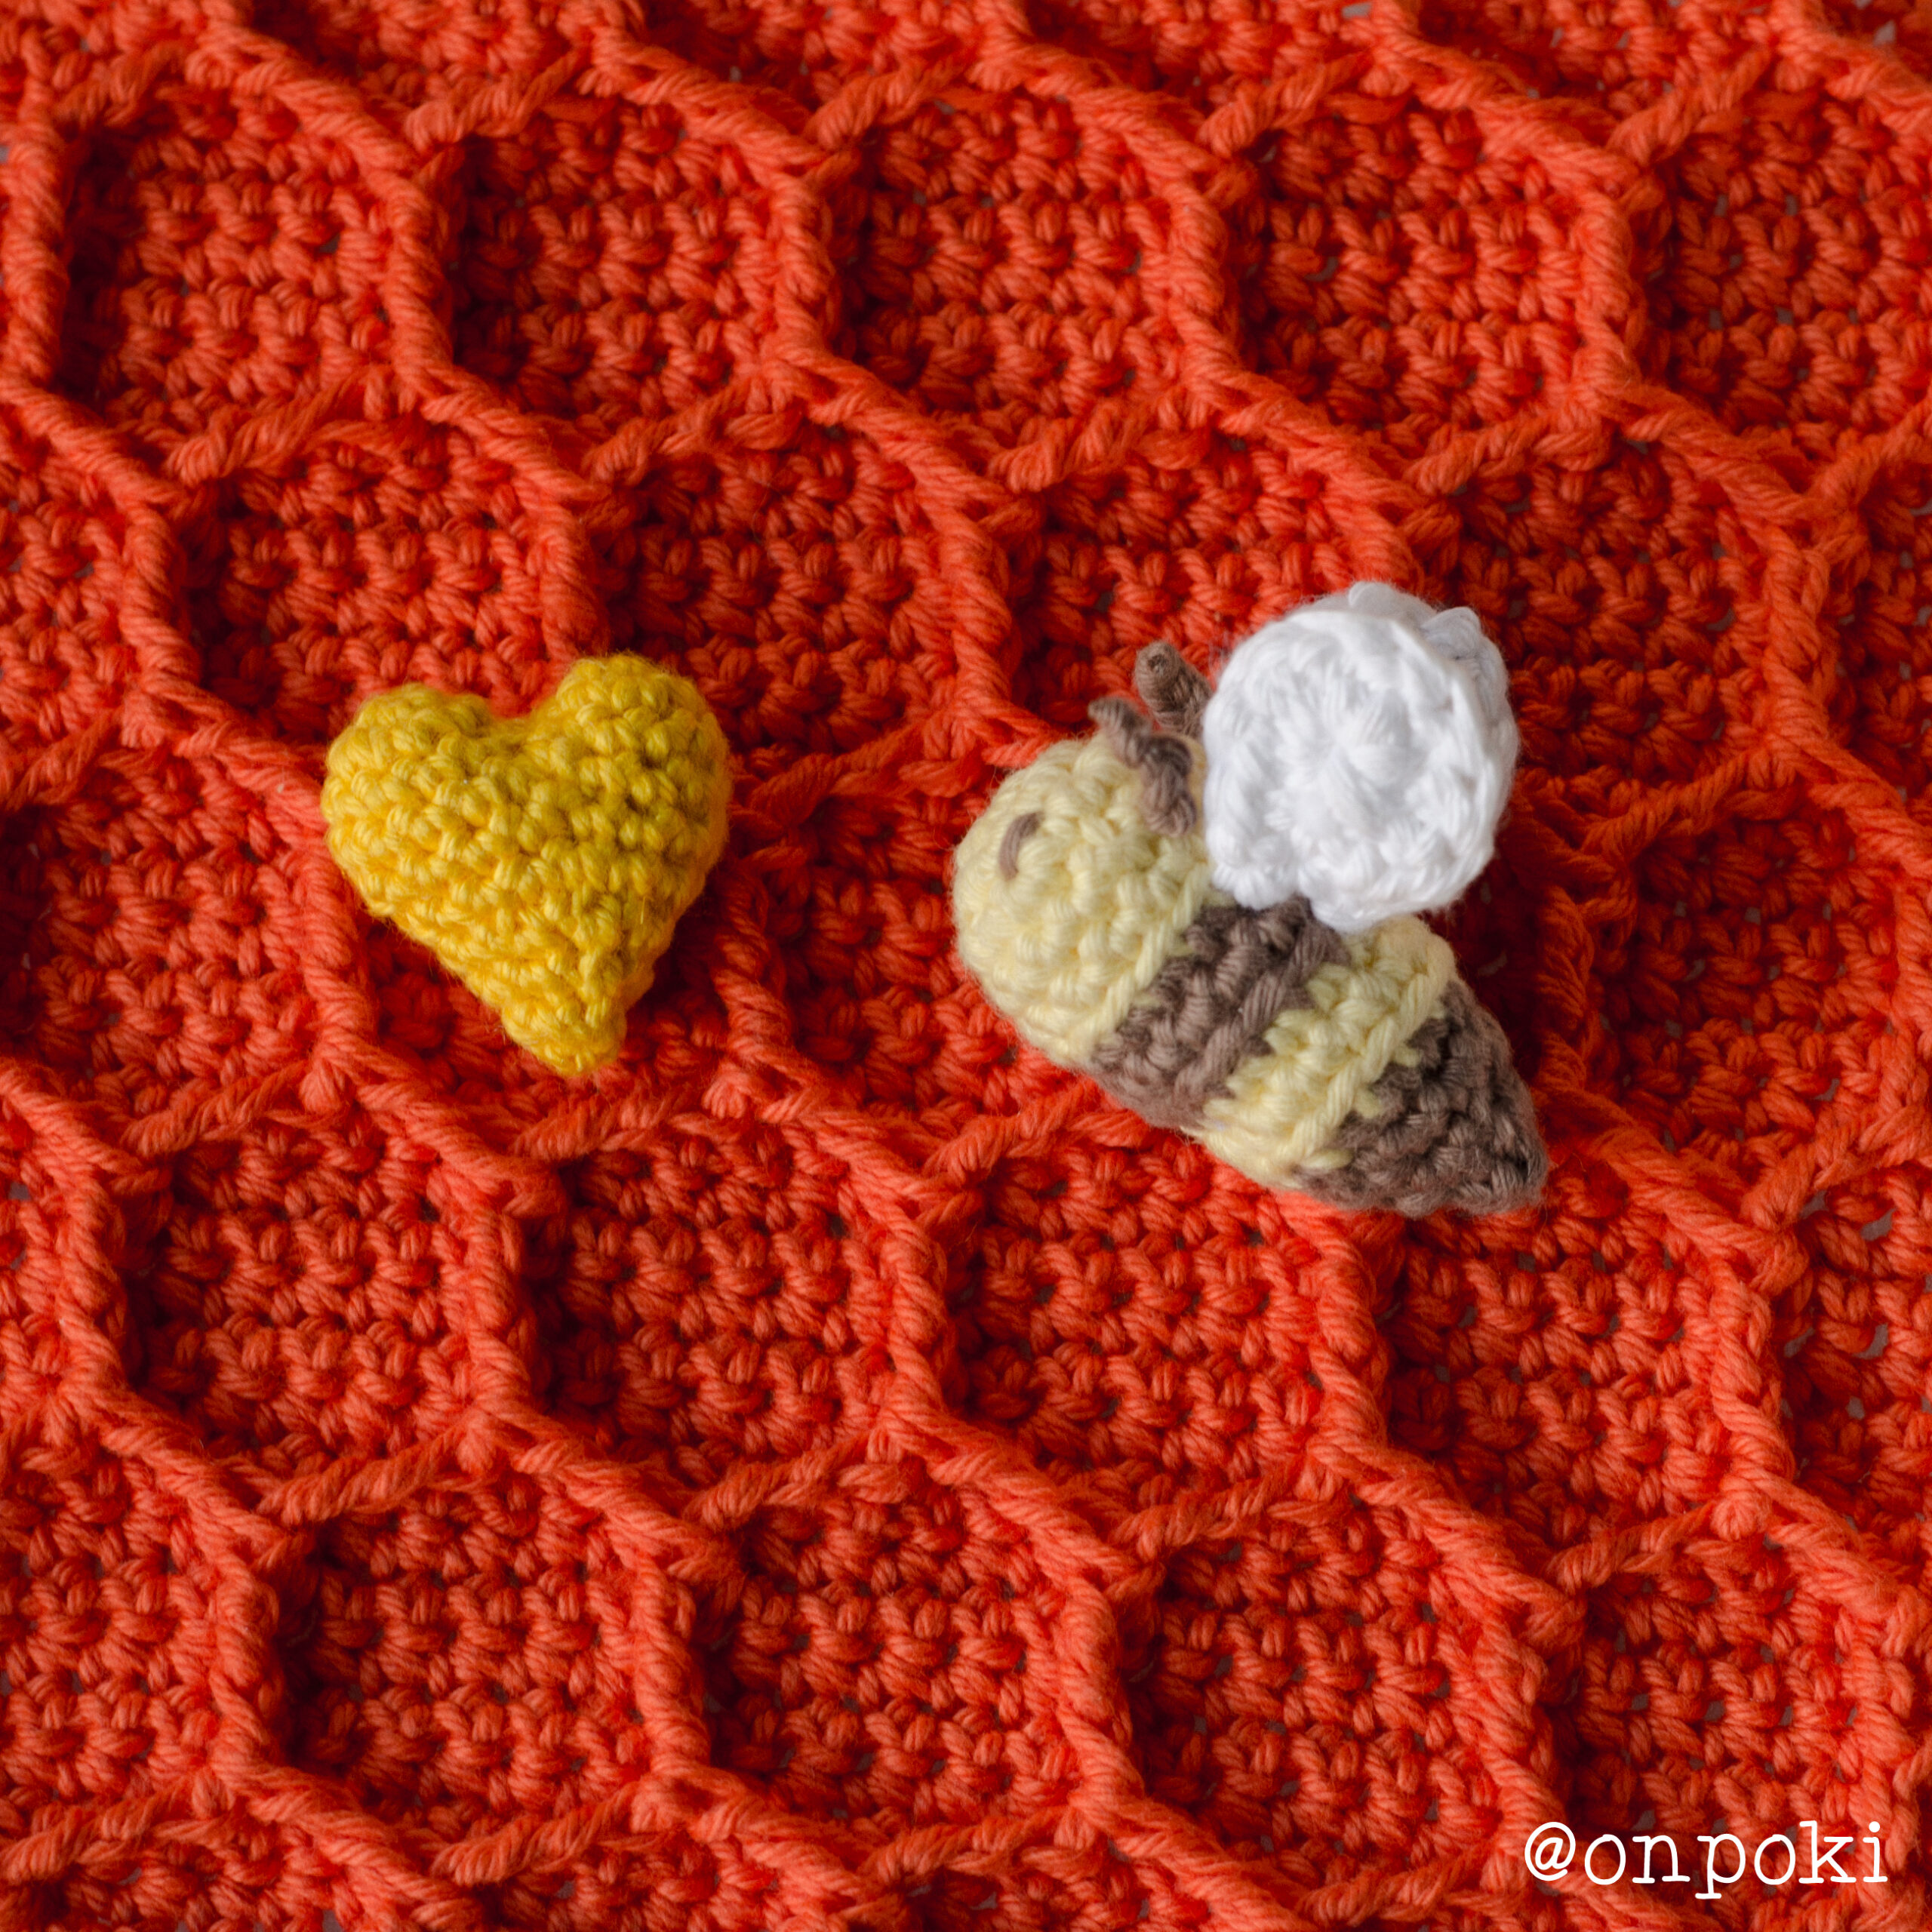
Looking for a quick and easy free amigurumi bee pattern? Nina the Bee is here to help!
In celebration of World Bee Day (May 20th), I’m sharing this project that’s perfect for beginners. Nina the Bee is worked in a continuous spiral using simple stitches. It’s ideal if you’re just getting started with crochet or if you need a gift that looks good without taking forever to finish. Bonus: it makes a great keychain…especially if you’re the type who loses keys but not their sense of style.
Why We Love Bees
On May 20th, we celebrate our beloved bees. I know many people are afraid of them (some even panic), and honestly, it’s understandable… no one wants to get stung. However, once we understand that, REALLY, if we don’t bother them, they have no reason to defend themselves, everything shifts. They just go on with their lives, minding their own business and focusing on their critical mission: pollinating flowers and producing that magical golden liquid we call honey. Warning, never trust wasps, that is a completely different and completely devilish insect.
The Magic of Honey
Did you know that honey, in addition to being delicious, naturally sweet, healthy, full of healing properties and beautiful (because yes, it is beautiful), is also nearly eternal? For example, if one day you randomly stumble upon an Egyptian tomb (hey, it could happen), and there’s a sealed jar of honey inside… you could absolutely stick your finger in and taste that treasure without hesitation.
So why does honey last forever? The answer lies in a combination of factors working together in perfect harmony:
It’s sweet
To begin with, honey is a sugar. And sugars are hygroscopic: they contain very little water but can absorb moisture if exposed to it.
As a result, very few microorganisms or bacteria can survive in that environment. For something to spoil, there has to be something alive to do the spoiling… and honey isn’t exactly welcoming to strangers.
It’s Acidic
Additionally, honey is highly acidic. Its pH ranges from 3 to 4.5 (with 7 being neutral), and that acidity kills a lot of things before they even get started.
It’s Made by Bees
And just to top it all off, we have the bees themselves. They collect nectar from flowers and regurgitate it into the honeycomb. While doing so, it mixes with an enzyme from their stomachs called glucose oxidase.
That nectar then breaks down into gluconic acid and hydrogen peroxide (yes, the same stuff that fizzes when you disinfect a cut). That’s why honey is also a natural antiseptic, and why it stays so well-preserved.
In short, that golden treasure guarded by the Mayan god Ah Muzenkab (with Zeus backing the PR campaign) is eternal because it’s too sweet, too acidic, and on top of that, antiseptic.
(If you want to read more about this, here’s the original article from the BBC: The Science Behind Honey’s Eternal Shelf Life)
Still, if you leave honey exposed to the air, it can absorb moisture from the environment. And moisture = water. Water = honey’s only enemy.
Thank you, bees
Once again, thank you bees…for your honey, your hard work, and for helping this planet keep blooming and feeding those of us living on it.
And now… this is my little tribute to a small but mighty insect.
Hope you like it. Or at least, that it makes you want to crochet a bee.
Looking for more free amigurumi patterns? Check out my other designs.
:: Nina the bee – free amigurumi bee crochet pattern ::


Materials for Nina the Bee – Free Crochet Pattern
Yarn and hook
Nina was made with Aran weight yarn (AKA medium / 4 / 10 ply / worsted / Afghan), using brown, yellow and white colours with a 3 mm crochet hook (US C2 / UK-CAN 11).
The rest…
Filling: Polyester fibre (wadding, pillow filling).
Yarn needle: To add details and close our little bee.
Row counter: It will really help you to keep track of how many rounds you have worked… Or you can simply use a paper and a pen… If you are easily distracted, like me, I really recommend you to get one.
Stitch markers: When making amigurumis in a spiral (continuous rounds) it is pretty easy to lose track of the beginning of the round, so I strongly recommend using any kind of stitch markers, bobby pins or a scrap of contrasting yarn will work perfectly fine.
– Abbreviations
MR: Magic ring
sc: Single crochet / Double crochet
inc: Increase
dec: Decrease
hdc: Half double crochet / Half treble crochet
dc: Double crochet / Treble crochet
– Extra instructions
- Brackets [ ]
Repeat the instructions inside the brackets the number of times indicated by the number at the end.
Ex: [6 sc, 3 inc]x 6 means that we will have to do the combo of 6 single crochet and 3 increases 6 times. And since we are here, 3 inc means that we will have to make 1 increase in each of the following 3 stitches. - Parentheses ( )
The number inside the parentheses is the number of stitches you should have at the end of the round.
Ex: [2 sc, 2 inc]x 2 (12) means that we should have 12 stitches in total at the end of that round.
This pattern is made in a continuous spiral, you do not need to close every round at the end.
:: How to Crochet your Nina the Bee – Step-by-Step Instructions ::
:: Antennae x 2 ::
*We are going to make them with the brown colour yarn*
Work 3 chains leaving a long tail at the begging for joining the antennae to our bee.
Fasten off, and make a knot as close as you can to the last chain we made -Image 1-.
Pull tight and cut yarn close to knot. It should look like Image 2.


:: Body ::
* Start with the yellow colour yarn *
1) MR 6 sc (6)
2) 6 inc (12)
3) [1 sc, 1 inc] x 6 (18)
4) [1 dec, 4 sc] x 3 (15)
5) 15 sc (15)
Before continuing with the body, we are going to embroider the eyes and add the antennae with the help of the yarn needle.
Eyes: We are going to make them with the brown thread. The eyes will be s stitch height, and we will embroider them as shown in Images 3, 4 and 5, making 2 passes with the needle. To secure them just tie a knot inside the body.


Antennae: We are going to attach them between rounds 4 and 5, 3 spaces apart each, as shown in Images 6, 7 and 8. Secure them by making a knot on the inside.


:: Let’s continue with the body ::
:: Let’s continue with the body ::
* Change to the brown colour yarn * (You can find more info about different ways to make colour changes in the following link :: Color change ::)
Work all the stitches of the next round in the back loop only (More info about this technique in the following link :: Back loop and Front loop ::). It should look like Image 9.
6 and 7) 15 sc (15) *Don’t forget to secure the begging of the brown yarn*

* Change to yellow colour yarn *
8 and 9) 15 sc (15)
* Change to brown colour yarn * Secure the yellow colour yarn, we will not use it again.
10) [3 sc, 1 dec] x 3 (12)
11) [2 sc, 1 dec] x 3 (9)
12) [1 sc, 1 dec] x 3 (6)
Cut the thread leaving it long enough to close our amigurumi and hide the thread inside -Image 10-. With the help of a wool needle insert your needle under every front loop from the last round, from the outside to the inside -Images 11 and 12-. Pull the yarn tight to finish closing it, the end should look pointy like in the Image 13. When hiding the thread inside the body, pull the yarn gently so that the pointy tip does not go inside, we want it to look like a stinger -Image 14-.


:: Wing x 2 ::
* With the white colour yarn *
1) Make 4 chains. Don’t need to leave a long tail at the beginning.
Start next round in the second chain from the crochet hook.
2) 1 sc, 1 hdc, in the last chain work 7 dc to go around to the other side of the chains, in the next chain make 1 hdc and 1 sc in the last one. I made a chart that I think is going to be a little easier to follow – Image 15-.
Keep in mind that after turning the chains, the next stitch where we have to do the hdc will be a little hidden, as indicated in image 16.


Fasten off leaving a long tail for joining the wing to the body (only in one of the wings, the other one just leave a thread long enough to hide it in the body).
Cut yarn the yarn we left at the beginning of that chains close to our work -Image 17-. It should look like image 18.
Attach them to the body as shown in images 19 till 24. We are going to use only the thread from one of the wings to join both wing. When finished, secure and lose the threads inside the body.


That’s it!
Your little Nina is finished!


I hope you had fun making it ^_^
If you enjoy this free amigurumi bee pattern, Check out my other designs.
I would love to see how they look! If you want, you can share it on Instagram or Facebook tagging me with @onpoki and/or with the hashtags #onpoki #ninathebee.
Follow me on Instagram or Facebook for more free amigurumi patterns.
Thank you so much for making one of my patterns. You made me really happy.
If you enjoyed making this pattern and would like to support my work, you can do so here ☕

Copyright information of this pattern
© 2021 ONPOKI – Paula Fuentes – All rights reserved. This pattern is FOR PERSONAL USE ONLY! The pattern (or parts of it) may not be reproduced, distributed or resold, translated, published, altered, shared or posted (for sale or free) over the internet or offline.
You are welcome to sell items from my PDF patterns provided that they are handmade by yourself, and you give credit to the designer.
Please include a note about the item being an “Onpoki design” on the tag (at a craft fair) or/and a link to my shop “onpoki.com” when you sell these items on the Internet.